
Hanging pictures might seem simple, but getting them level, spaced correctly, and in the right place can dramatically enhance your home’s look. Whether you’re decorating a living room, bedroom, or hallway, knowing the best way to hang pictures ensures your walls look balanced and visually appealing. This guide breaks down practical steps, expert tips, and creative ideas to help you display your artwork like a pro.
1. Choose the Right Pictures for Your Space
Before you start hanging, it’s important to carefully select artwork that fits both your room and your personal style. The size of the pictures is one of the first considerations. Large walls can handle bigger pieces or a bold gallery arrangement, while smaller rooms benefit from smaller frames or clusters of modest-sized artwork. Oversized pieces in tiny spaces can feel overwhelming and disrupt the balance of the room.
Next, think about style. Your artwork should complement your existing decor—whether it’s modern, classic, rustic, or eclectic. Choosing pieces that align with your design theme ensures the room feels cohesive and intentional rather than mismatched.
Color and theme are equally important. Harmonize the colors in your artwork with your furniture, curtains, rugs, and wall paint. Consider:
- Coordinating dominant colors in the art with accent pieces in the room
- Using complementary tones to create visual balance
- Selecting themes—like nature, abstract, or family portraits—that enhance the mood of the space
By selecting the right pieces before hanging, you save time and avoid rework. Thoughtfully chosen artwork not only reflects your personality but also enhances your home’s aesthetic, creating a space that feels curated, balanced, and inviting.
2. Determine the Best Wall for Your Pictures
Not all walls are created equal. Choosing the right location enhances the visual impact:
- Eye-level placement: Pictures generally look best when the center is at average eye level—about 57–60 inches from the floor.
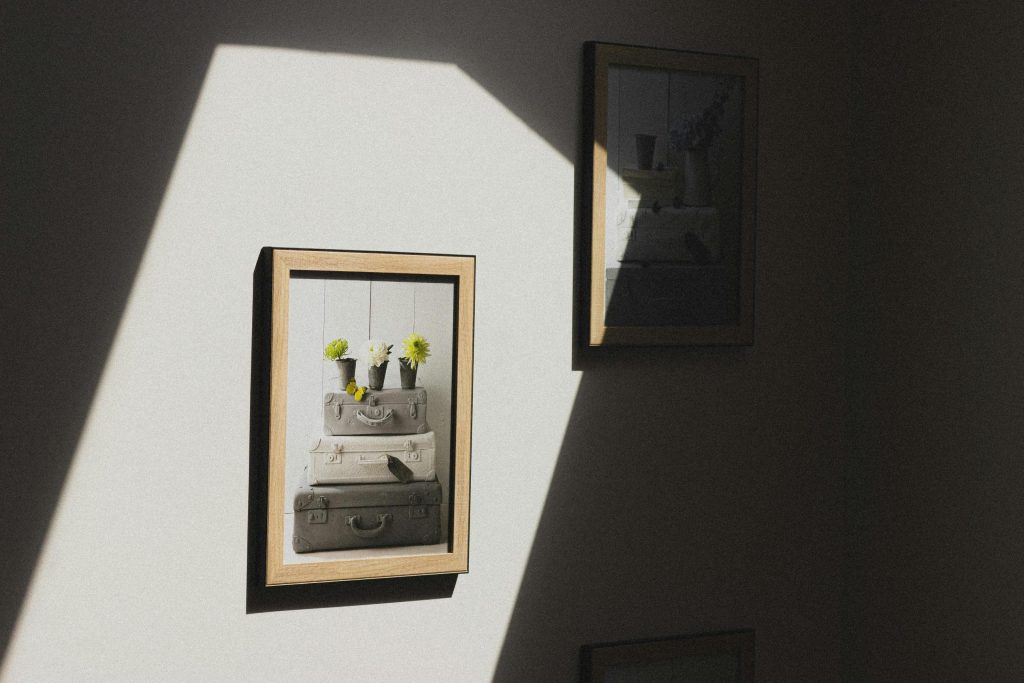
- Focal points: Place important pieces where they naturally draw attention, such as above a sofa, bed, or fireplace.
- Traffic flow: Avoid placing delicate or protruding frames in areas with heavy movement where they might get knocked over.
Planning the wall and considering room layout ensures your pictures become a focal point rather than an afterthought.
3. Gather the Right Tools and Materials
Using proper tools makes hanging pictures easier, faster, and safer. Common tools include:
- Measuring tape and ruler – Ensure proper spacing and alignment.
- Level – Prevent crooked frames and achieve a professional look.
- Pencil – Mark spots on the wall without permanent damage.
- Picture hooks, nails, or screws – Choose hardware appropriate for the frame weight.
- Stud finder – Helps locate wall studs for heavier frames.
- Adhesive strips – Damage-free options for lightweight frames or temporary displays.
Having everything ready before starting prevents mistakes and makes the process smooth.
4. Plan Your Layout Before Hanging
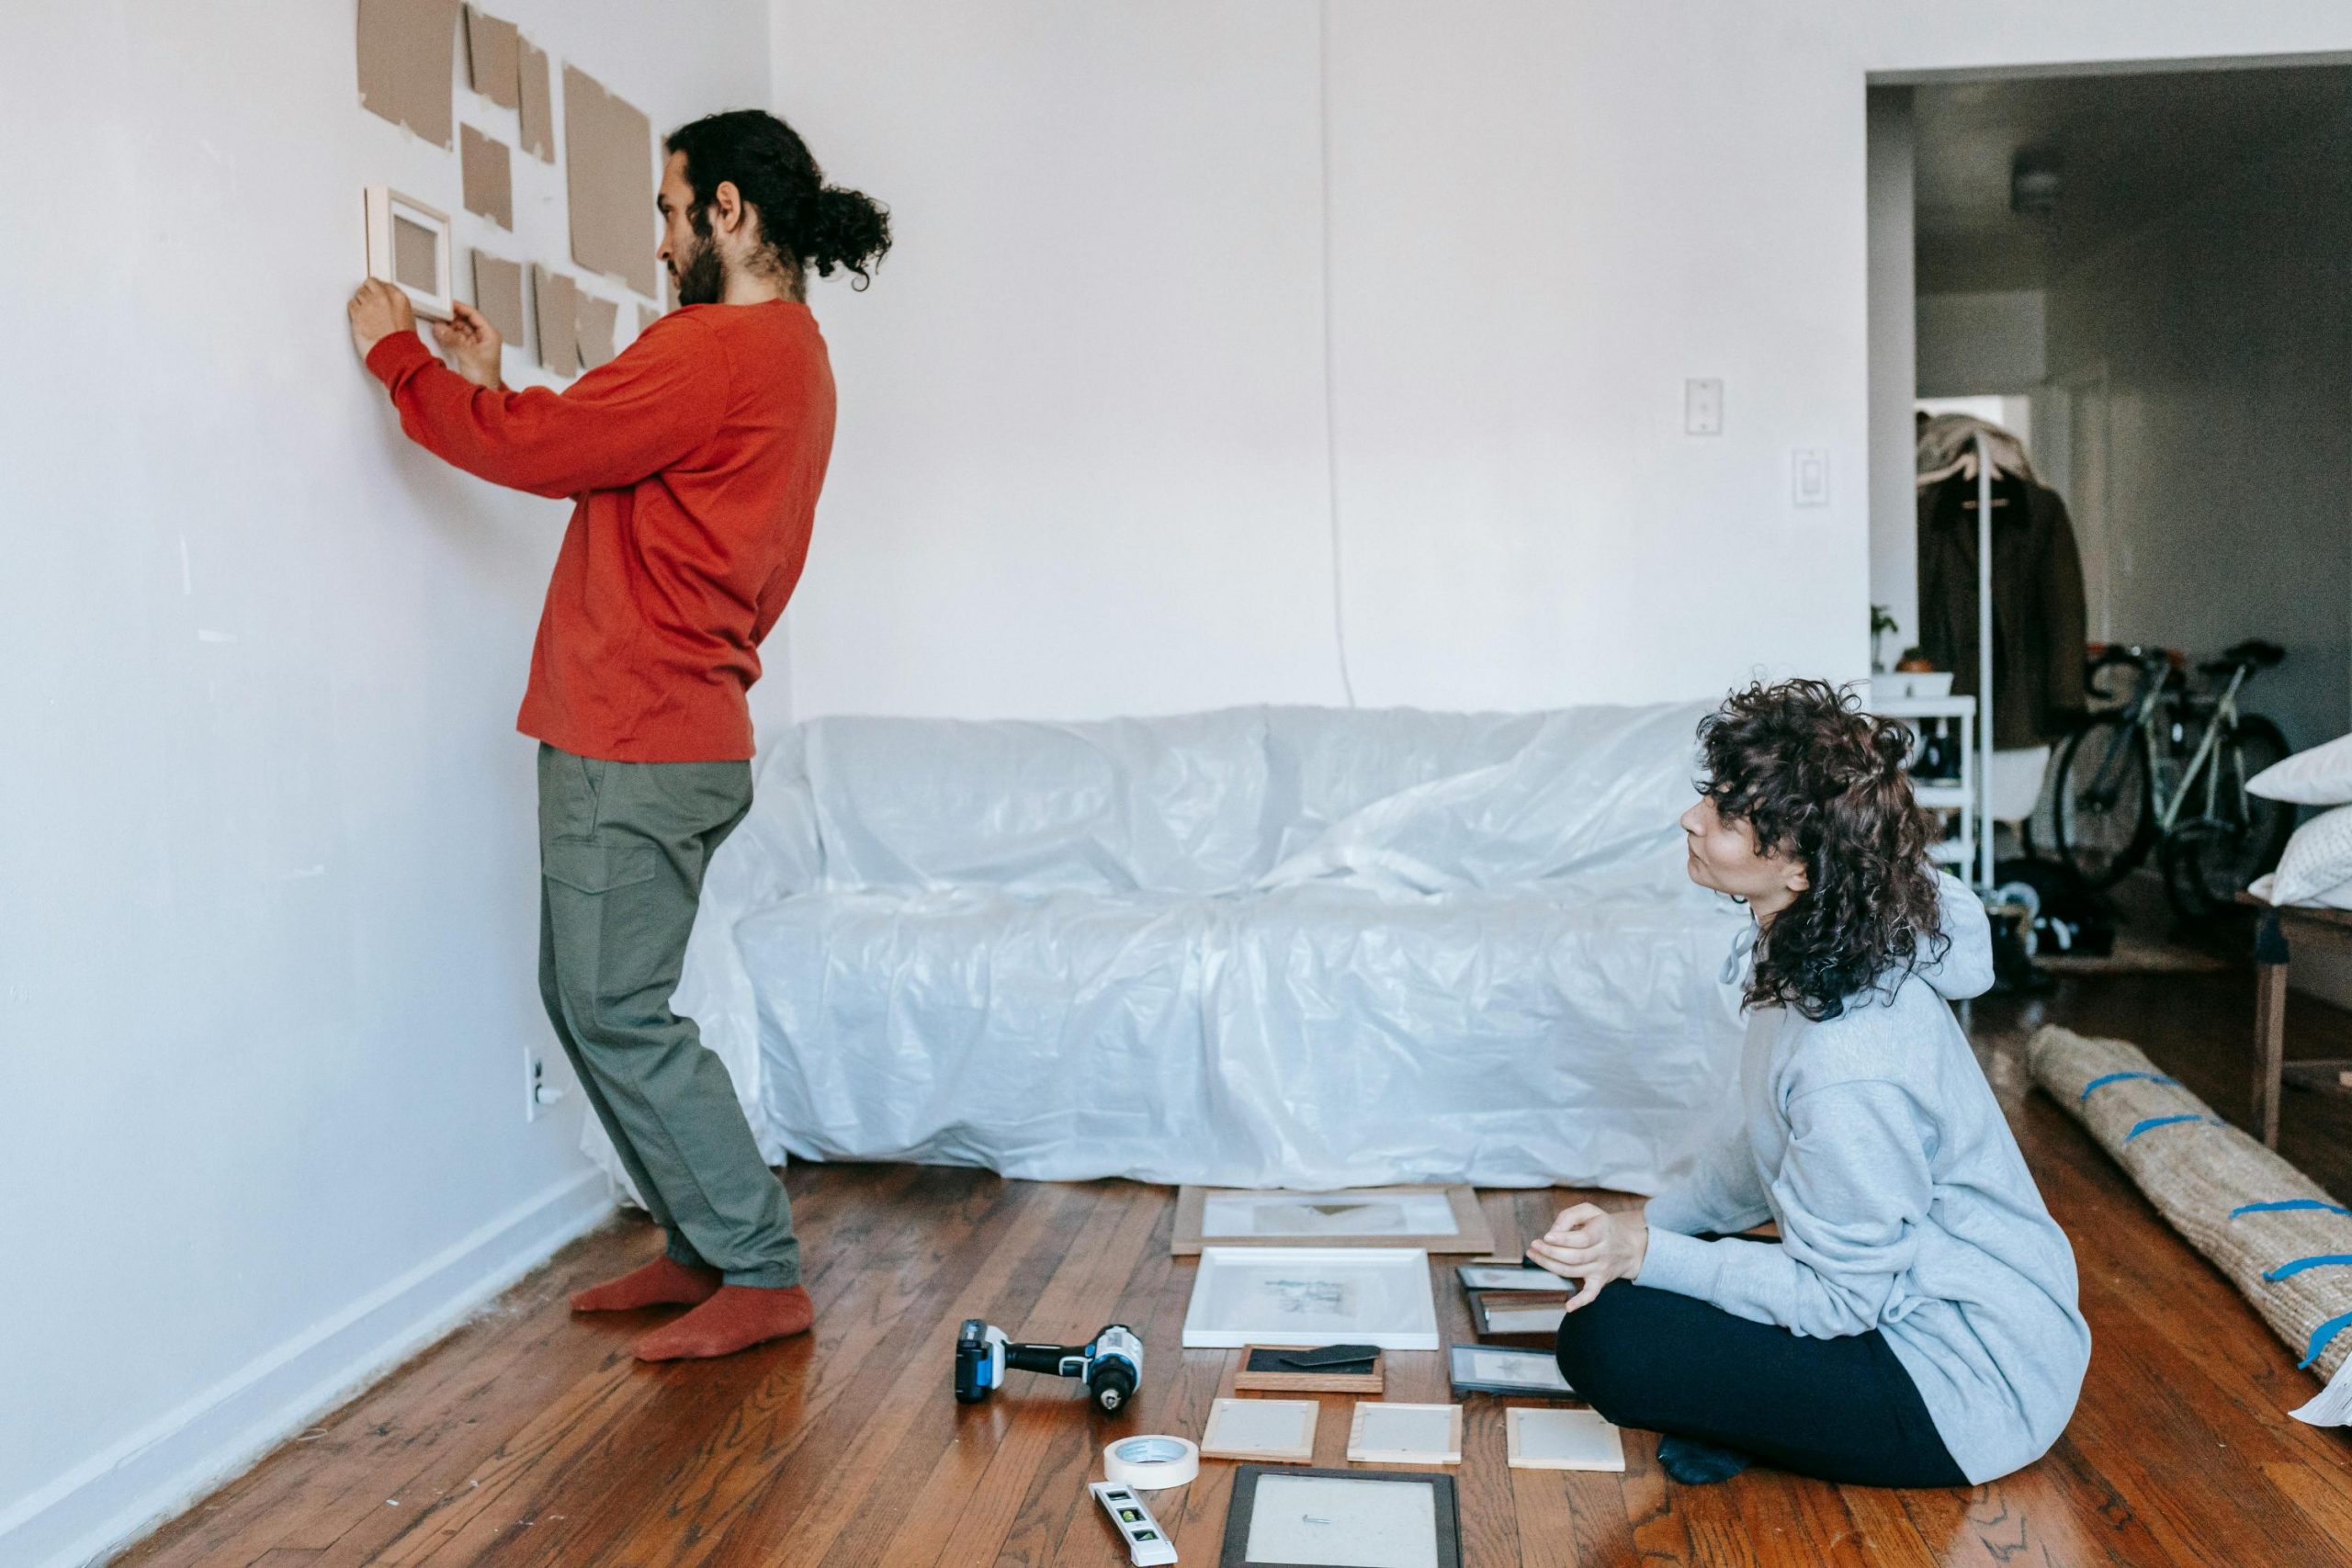
Before putting nails or hooks in the wall, it’s essential to plan your picture arrangement. Proper planning prevents uneven placement, awkward spacing, and unnecessary holes. One effective method is to use paper templates: cut pieces of paper the same size as your frames and tape them to the wall. This allows you to visualize the layout, test spacing, and make adjustments without committing to nails or hooks.
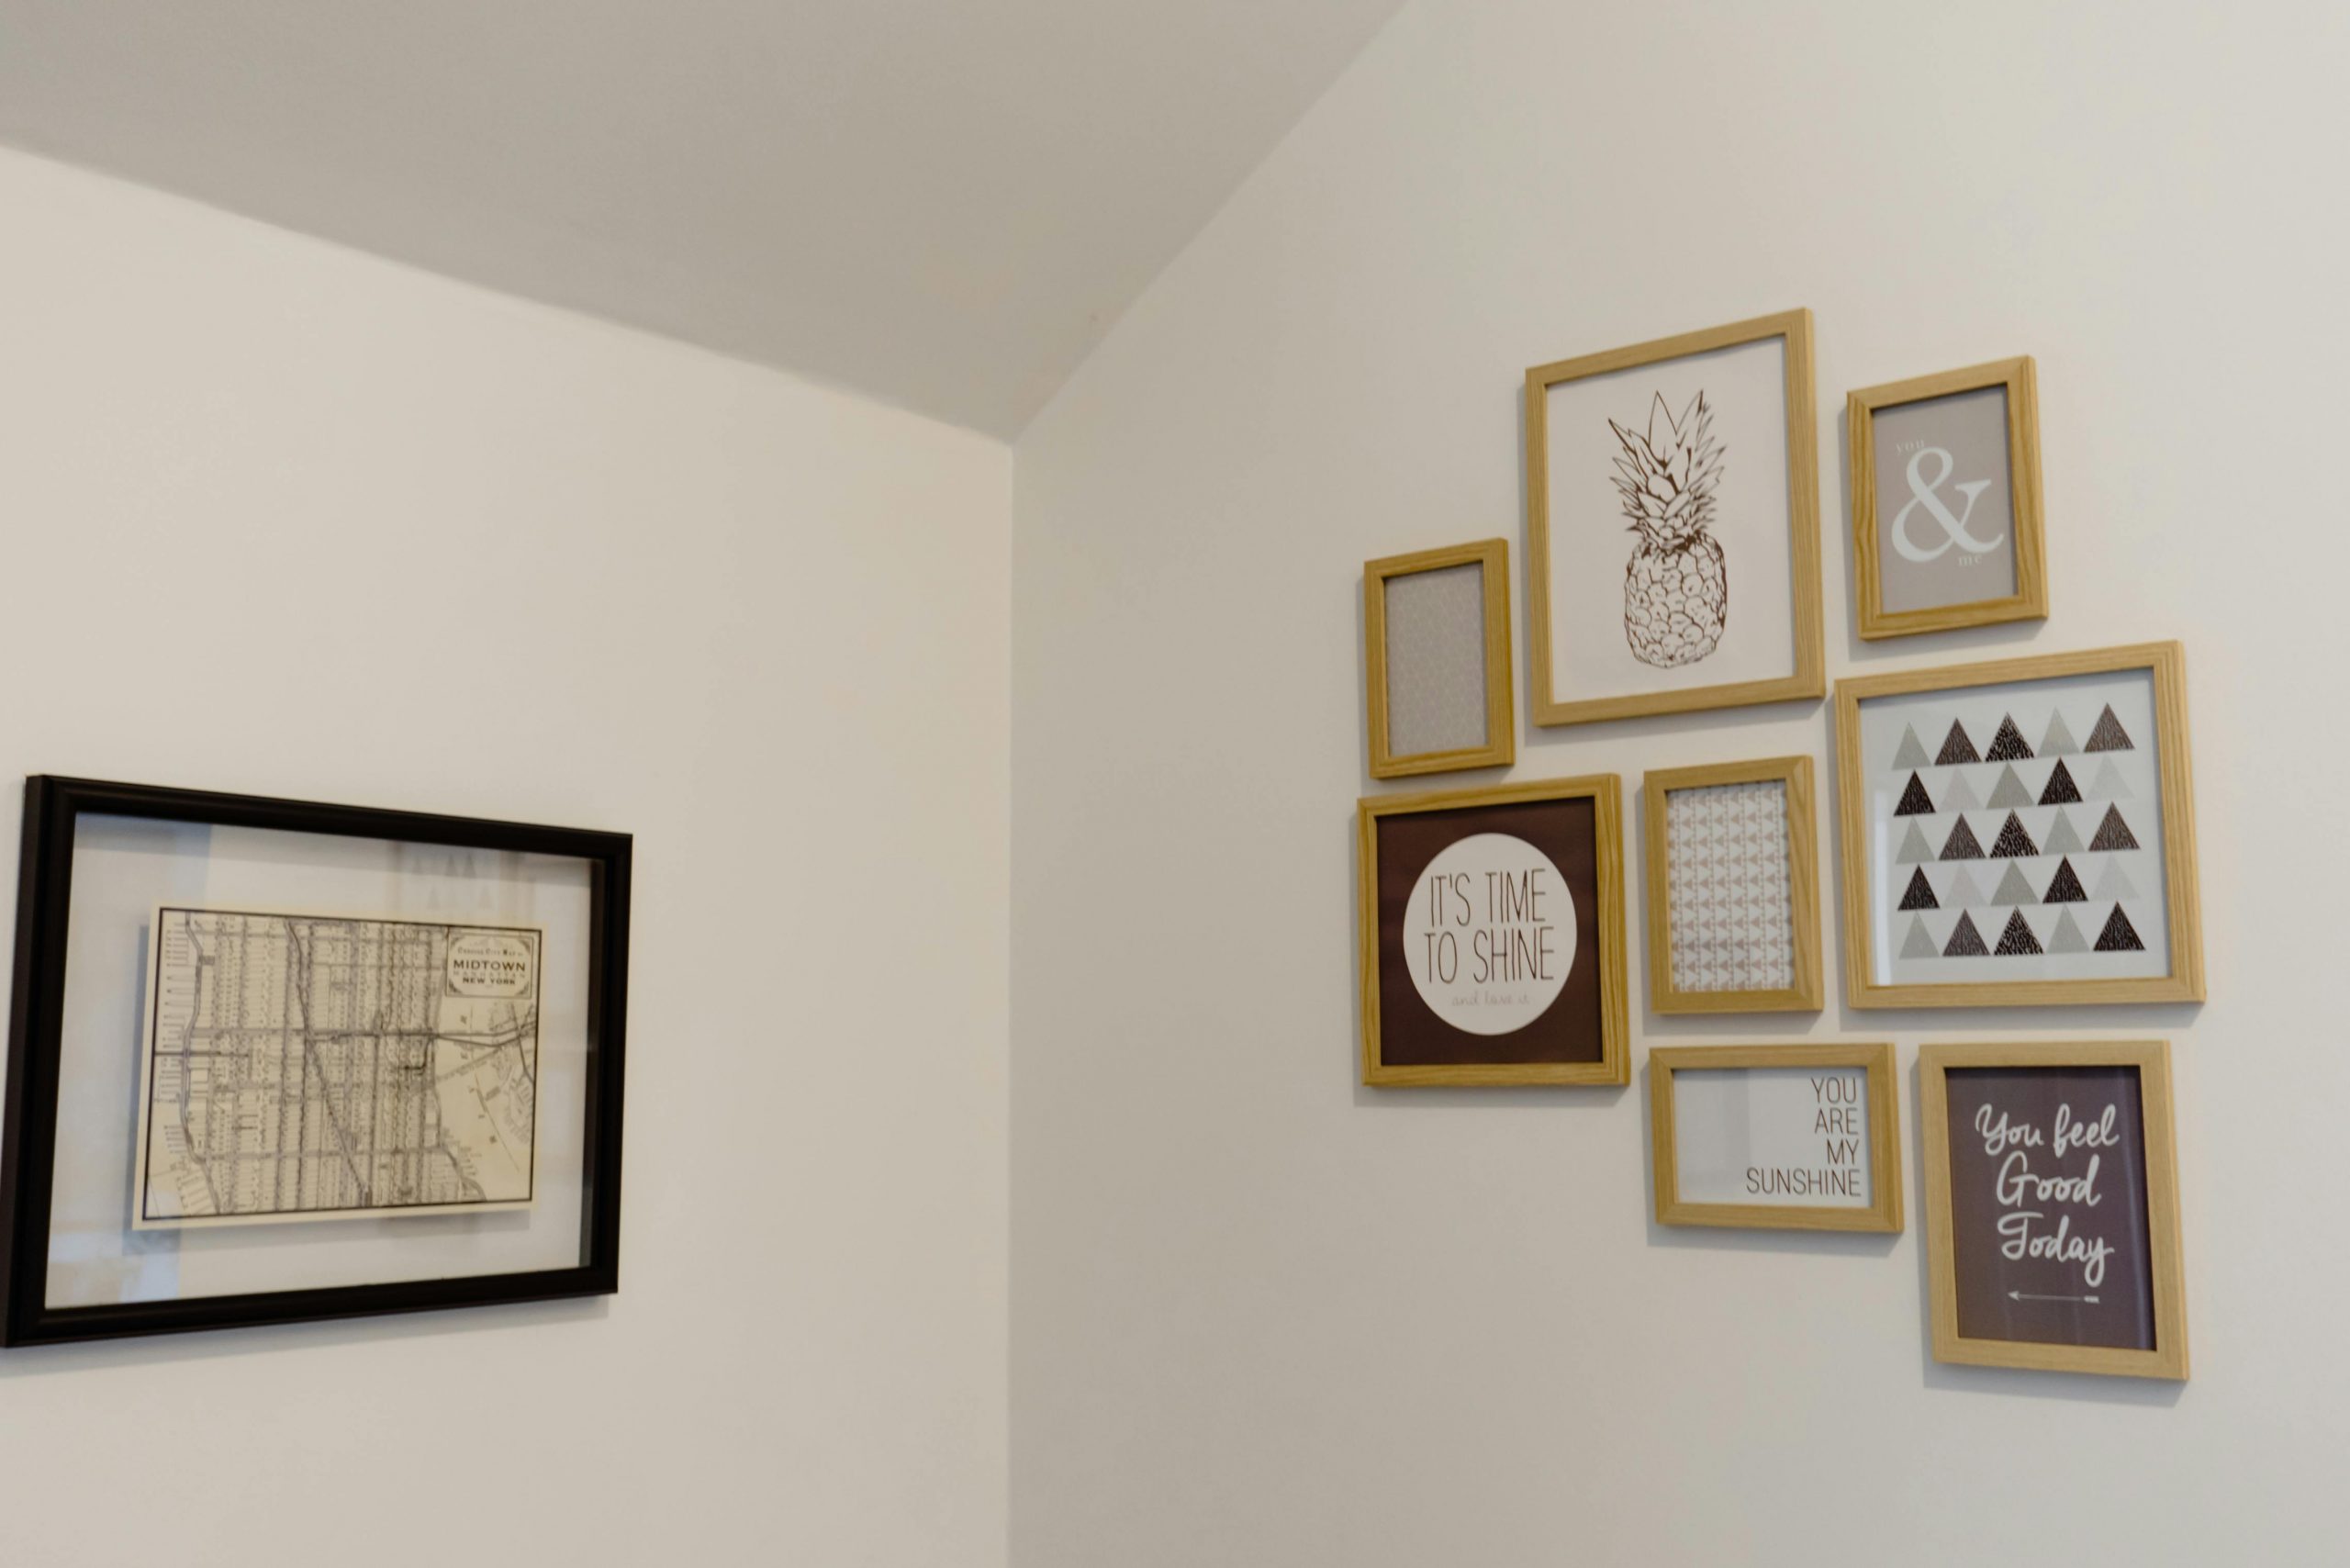
For those creating a gallery wall, it helps to decide whether you want a symmetrical or asymmetrical design. Start from the center or a focal point and work outward, keeping balance in mind. Grouping frames thoughtfully ensures that multiple pieces feel connected rather than scattered.
Pay attention to spacing guidelines as well. Leaving 2–5 inches between frames is generally ideal, though you can adjust based on the wall size and number of pieces. Closer spacing can create a cohesive gallery effect, while wider spacing works for minimalist arrangements or larger walls.
Other tips for planning your layout include:
- Laying frames on the floor first to experiment with different arrangements
- Considering eye-level placement for the central piece (around 57–60 inches from the floor)
- Mixing vertical and horizontal frames for visual interest
Taking the time to plan your layout ensures a polished, professional appearance with minimal trial and error. A well-thought-out arrangement enhances your space and highlights your artwork beautifully.
5. Hang Pictures at the Correct Height
Proper height is essential for balance and comfort:
- Single pictures: Center at 57–60 inches from the floor.
- Above furniture: Leave 6–12 inches between the top of furniture and the bottom of the frame.
- Gallery walls: Maintain consistent spacing; start with the central piece as an anchor.
Correct height ensures your pictures draw the eye naturally and create a pleasing visual flow.
6. Use Leveling and Alignment Techniques
Crooked frames can ruin a room’s look. Keep pictures level and aligned:
- Bubble or laser levels: Ensure horizontal and vertical alignment.
- Measuring distance: Use a tape measure to double-check spacing between frames.
- Adjustable hooks: Some hooks allow fine-tuning without moving nails.
Accuracy gives your walls a professional finish and prevents frustration from repeated adjustments.
7. Choose the Right Hanging Hardware
Selecting the correct hardware is essential to ensure your pictures stay secure and your walls remain undamaged. The type of hardware you use largely depends on both the weight of the frame and the type of wall.
For light frames, simple solutions like adhesive strips, small nails, or lightweight hooks are usually sufficient. They hold delicate artwork without causing damage and are easy to adjust. Medium frames benefit from sturdier picture hooks, small screws, or anchors, which provide extra support while remaining relatively simple to install.
For heavy frames, safety is critical. Use wall anchors, toggle bolts, or screws directly into studs to prevent falls and protect both your artwork and your walls. Properly supporting heavy frames also ensures long-term stability, even in high-traffic areas.
Different wall materials require specialized hardware:
- Brick or concrete walls: Use masonry nails, sleeve anchors, or hammer-in anchors.
- Plaster walls: Plastic or metal anchors distribute weight and prevent cracking.
- Drywall: Standard picture hooks or screws with anchors are usually sufficient.
By choosing the appropriate hanging hardware for your frame weight and wall type, you prevent accidents, protect your walls, and ensure your pictures stay beautifully displayed for years to come.
8. Consider Frame Orientation and Spacing
Orientation and spacing affect the overall aesthetic:
- Horizontal vs. vertical: Choose based on the wall’s dimensions and furniture placement. Horizontal works well above sofas; vertical suits narrow spaces.
- Even spacing: Maintain consistent spacing for a tidy look. Odd or uneven spacing can look chaotic.
- Layering: Small frames can overlap or cluster for an eclectic, dynamic style.
Thoughtful arrangement enhances the visual appeal of your wall and complements the room’s design.
9. Incorporate Creative Display Ideas
Beyond traditional hanging, consider innovative ways to showcase pictures:
- Lean frames: Place large frames on shelves or mantels for a casual, modern look.
- Gallery shelves: Layer multiple frames on ledges for flexible display options.
- Mix with other decor: Combine frames with mirrors, plants, or wall art for added texture and interest.
- Themed walls: Group pictures by color, subject, or frame style to create cohesion.
Creative methods add personality and transform blank walls into conversation pieces.
10. Maintain and Update Your Displays
Keeping your pictures looking fresh is as important as hanging them properly:
- Regular dusting: Prevent dirt and dust buildup on frames and glass.
- Rotate artwork: Swap seasonal or new pieces to refresh the look.
- Inspect hooks and hardware: Ensure frames remain secure over time, especially for heavier items.
A little maintenance keeps your walls attractive and safe for years to come.
11. Avoid Common Mistakes
Creating a professional-looking picture display requires attention to detail. One of the most common errors is hanging artwork too high or too low. This can throw off the balance of the room, especially when paired with furniture like sofas, tables, or shelves. A good guideline is to place the center of the artwork at eye level, around 57–60 inches from the floor.
Another important consideration is frame weight. Heavy frames need proper support to prevent accidents. Using just nails on drywall may not hold, which could lead to damage or injury. Always check the weight of your frame and use the appropriate hardware, such as:
- Anchors or screws rated for the frame’s weight
- Picture hooks designed for heavy artwork
- Specialized hardware for plaster, brick, or concrete walls
Spacing between pictures also affects the overall look. Uneven gaps can make a display appear cluttered or chaotic. To maintain a cohesive gallery wall, measure carefully and aim for consistent spacing—typically 2–4 inches apart.
Lastly, consider the type of wall you’re working with. Drywall, plaster, brick, and concrete all require different hanging methods. Ignoring this can result in falling frames or wall damage.
By paying attention to these details—height, frame weight, spacing, and wall type—you’ll create a polished, secure, and visually appealing display that enhances your space for years to come.
12. FAQs About Hanging Pictures
Q: How high should I hang pictures above a sofa?
A: Leave 6–12 inches between the top of the sofa and bottom of the frame.
Q: Can I hang heavy frames on plaster walls?
A: Yes, use masonry anchors or screws into studs for secure support.
Q: How do I create a gallery wall?
A: Start with a central piece, plan spacing, and use paper templates to visualize placement before hanging.
Final Thoughts
Hanging pictures is both an art and a science. Choosing the right wall, spacing, hardware, and orientation ensures your frames enhance your home decor rather than detract from it. Whether you prefer a minimalist approach, a gallery wall, or a creative display, following these steps helps you achieve a polished, professional look. By planning carefully, using the right tools, and maintaining your displays, you can transform your walls into personalized works of art that reflect your style and personality.
With practice, you’ll master the best way to hang pictures, making your home more inviting, stylish, and harmonious.