
Arranging pictures on a wall is both an art and a science. The right layout can transform a room, highlight your style, and create a visually appealing space. Whether you’re decorating a living room, hallway, or bedroom, knowing how to display your pictures effectively makes all the difference. This guide walks you through everything you need to know, from selecting the right frames to planning layouts and hanging techniques.
1. Choose the Right Pictures for Your Space
Before hanging anything, it’s essential to think about the type of pictures or artwork that will complement your room’s style and atmosphere. Selecting the right pieces ensures that your wall display feels intentional, cohesive, and balanced.
- Size matters: Large walls can handle big, statement-making artwork, while smaller walls benefit from compact frames. For example, a single oversized canvas works beautifully above a sofa, but it might overwhelm a narrow hallway. If you want to create a gallery wall, mix small and medium frames for variety, but keep a consistent spacing to maintain harmony.
- Style: Consider your home’s décor style—whether it’s modern, rustic, minimalist, or eclectic—and choose artwork that enhances it. A sleek, abstract print might look out of place in a traditionally styled living room, while classic landscapes may not complement a contemporary space. Matching style helps create a unified, curated look.
- Theme and color: Harmonize your artwork with the existing color palette in your room. For example, if your walls are neutral, vibrant pieces can provide a striking contrast. Conversely, selecting frames that match or complement furniture tones can create a seamless and elegant aesthetic. Think about subject matter too—family photos, travel memories, or inspirational quotes can all bring personality to a space while maintaining visual coherence.
Taking the time to carefully select your pictures first saves effort later and ensures your arrangement enhances your home rather than clashing with it.
2. Plan Your Layout Before Hanging
Proper planning prevents awkward spacing and uneven placement. Consider these strategies:
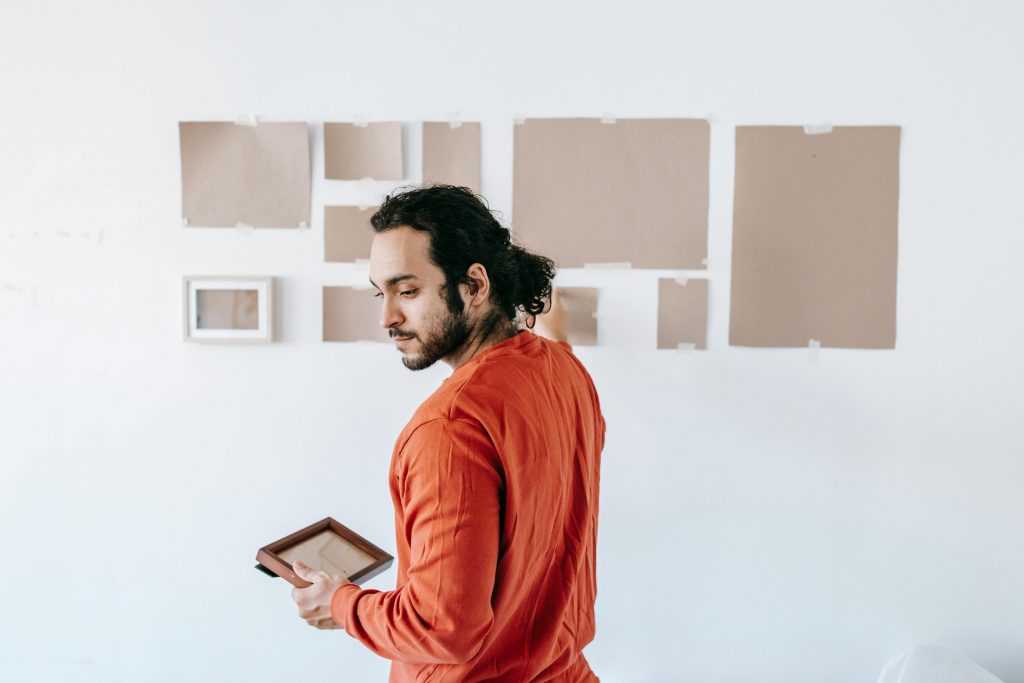
- Paper templates: Cut out paper the size of your frames and tape them to the wall. This allows you to experiment with placement without making holes.
- Gallery walls: Choose between symmetrical or asymmetrical arrangements for multiple frames. Start from the center and work outward to create balance.
- Spacing guidelines: Leave 2–5 inches between frames for a cohesive look. Closer spacing tends to make the group feel unified.
Taking time to plan your layout ensures a professional and visually pleasing display.
3. Measure and Align Correctly
Accurate measurements are crucial for symmetry and balance:
- Eye level: Hang pictures so the center is at eye level—roughly 57–60 inches from the floor. This works for most wall arrangements.
- Use a level and measuring tape: Ensure frames are straight and spaced evenly. Misaligned pictures can make even a great layout appear sloppy.
- Grid alignment: For multiple photos, consider aligning them along an invisible grid for a clean and orderly presentation.
Proper alignment gives your arrangement a polished, gallery-worthy look.
4. Choose the Right Hanging Hardware
The type of hardware depends on frame weight and wall type:
- Light frames: Adhesive strips or small nails work well.
- Medium frames: Picture hooks or screws provide extra support.
- Heavy frames: Use wall anchors or screws into studs for safety.
- Special walls: Brick, plaster, or concrete may require masonry nails or anchors.
Selecting the correct hardware ensures your pictures stay secure. Using the best way to hang pictures also prevents damage and keeps your wall looking pristine.
5. Mix and Match Frames and Art Styles
Variety in frames and art styles adds depth and interest to your wall, but it’s important to balance creativity with cohesion. A mismatched arrangement without thought can look chaotic, while thoughtful mixing can elevate your décor.
- Frame diversity: Mix frame materials like wood, metal, or acrylic to create texture. A sleek black metal frame can pair nicely with a warm wooden frame if you maintain a consistent overall color scheme.
- Size and shape: Combine square, rectangular, and even circular frames for visual interest. When arranging multiple pieces, consider varying frame sizes but maintaining consistent spacing so the wall doesn’t feel cluttered.
- Art variety: Don’t be afraid to combine different types of artwork, such as photographs, paintings, prints, and canvases. For instance, placing a small abstract painting next to a framed family photo can create a visually appealing contrast.
- Consistency tips: Even when mixing frames and styles, maintain a unifying element like a consistent color in the frames, matting, or theme in the artwork. This ensures the display looks intentional rather than accidental.
By mixing frames and art styles thoughtfully, you can create a dynamic wall that reflects your personality while keeping a polished, organized appearance.
6. Use Anchors and Studs for Stability
For heavier frames or multiple pictures, wall anchors and studs provide extra stability:
- Locate studs using a stud finder or tap method.
- Use toggle bolts or anchors for drywall where studs aren’t available.
- Heavier arrangements, like a large gallery wall, should always be anchored to studs for safety.
This step prevents accidents and ensures your wall display lasts for years.
7. Create Focal Points
A strong focal point draws attention and anchors your arrangement:
- Start with one large central piece or your favorite artwork.
- Arrange smaller pictures around the focal point in complementary positions.
- Consider the room layout—place the focal point near seating areas or above key furniture pieces like sofas or consoles.
Focal points guide the viewer’s eye and create a sense of balance in your décor.
8. Consider the Room’s Function and Lighting
The function and lighting of a room affect picture placement:
- In bright rooms, UV-protective glass can prevent fading.
- Avoid hanging pictures above heat sources, like radiators, which can damage frames and art.
- For hallways or corridors, consider smaller pieces at a lower height to guide movement and engagement.
Tailoring placement to room function ensures both longevity and visual impact.
9. Experiment With Symmetry and Asymmetry
Both symmetrical and asymmetrical layouts have unique advantages:
- Symmetrical arrangements: Great for formal spaces; creates balance and harmony.
- Asymmetrical arrangements: Feels dynamic and modern; allows flexibility in frame sizes and spacing.
- Combination: Start with a central symmetrical anchor, then mix in asymmetrical elements for interest.
Testing different arrangements before hanging helps you find what works best for your space.
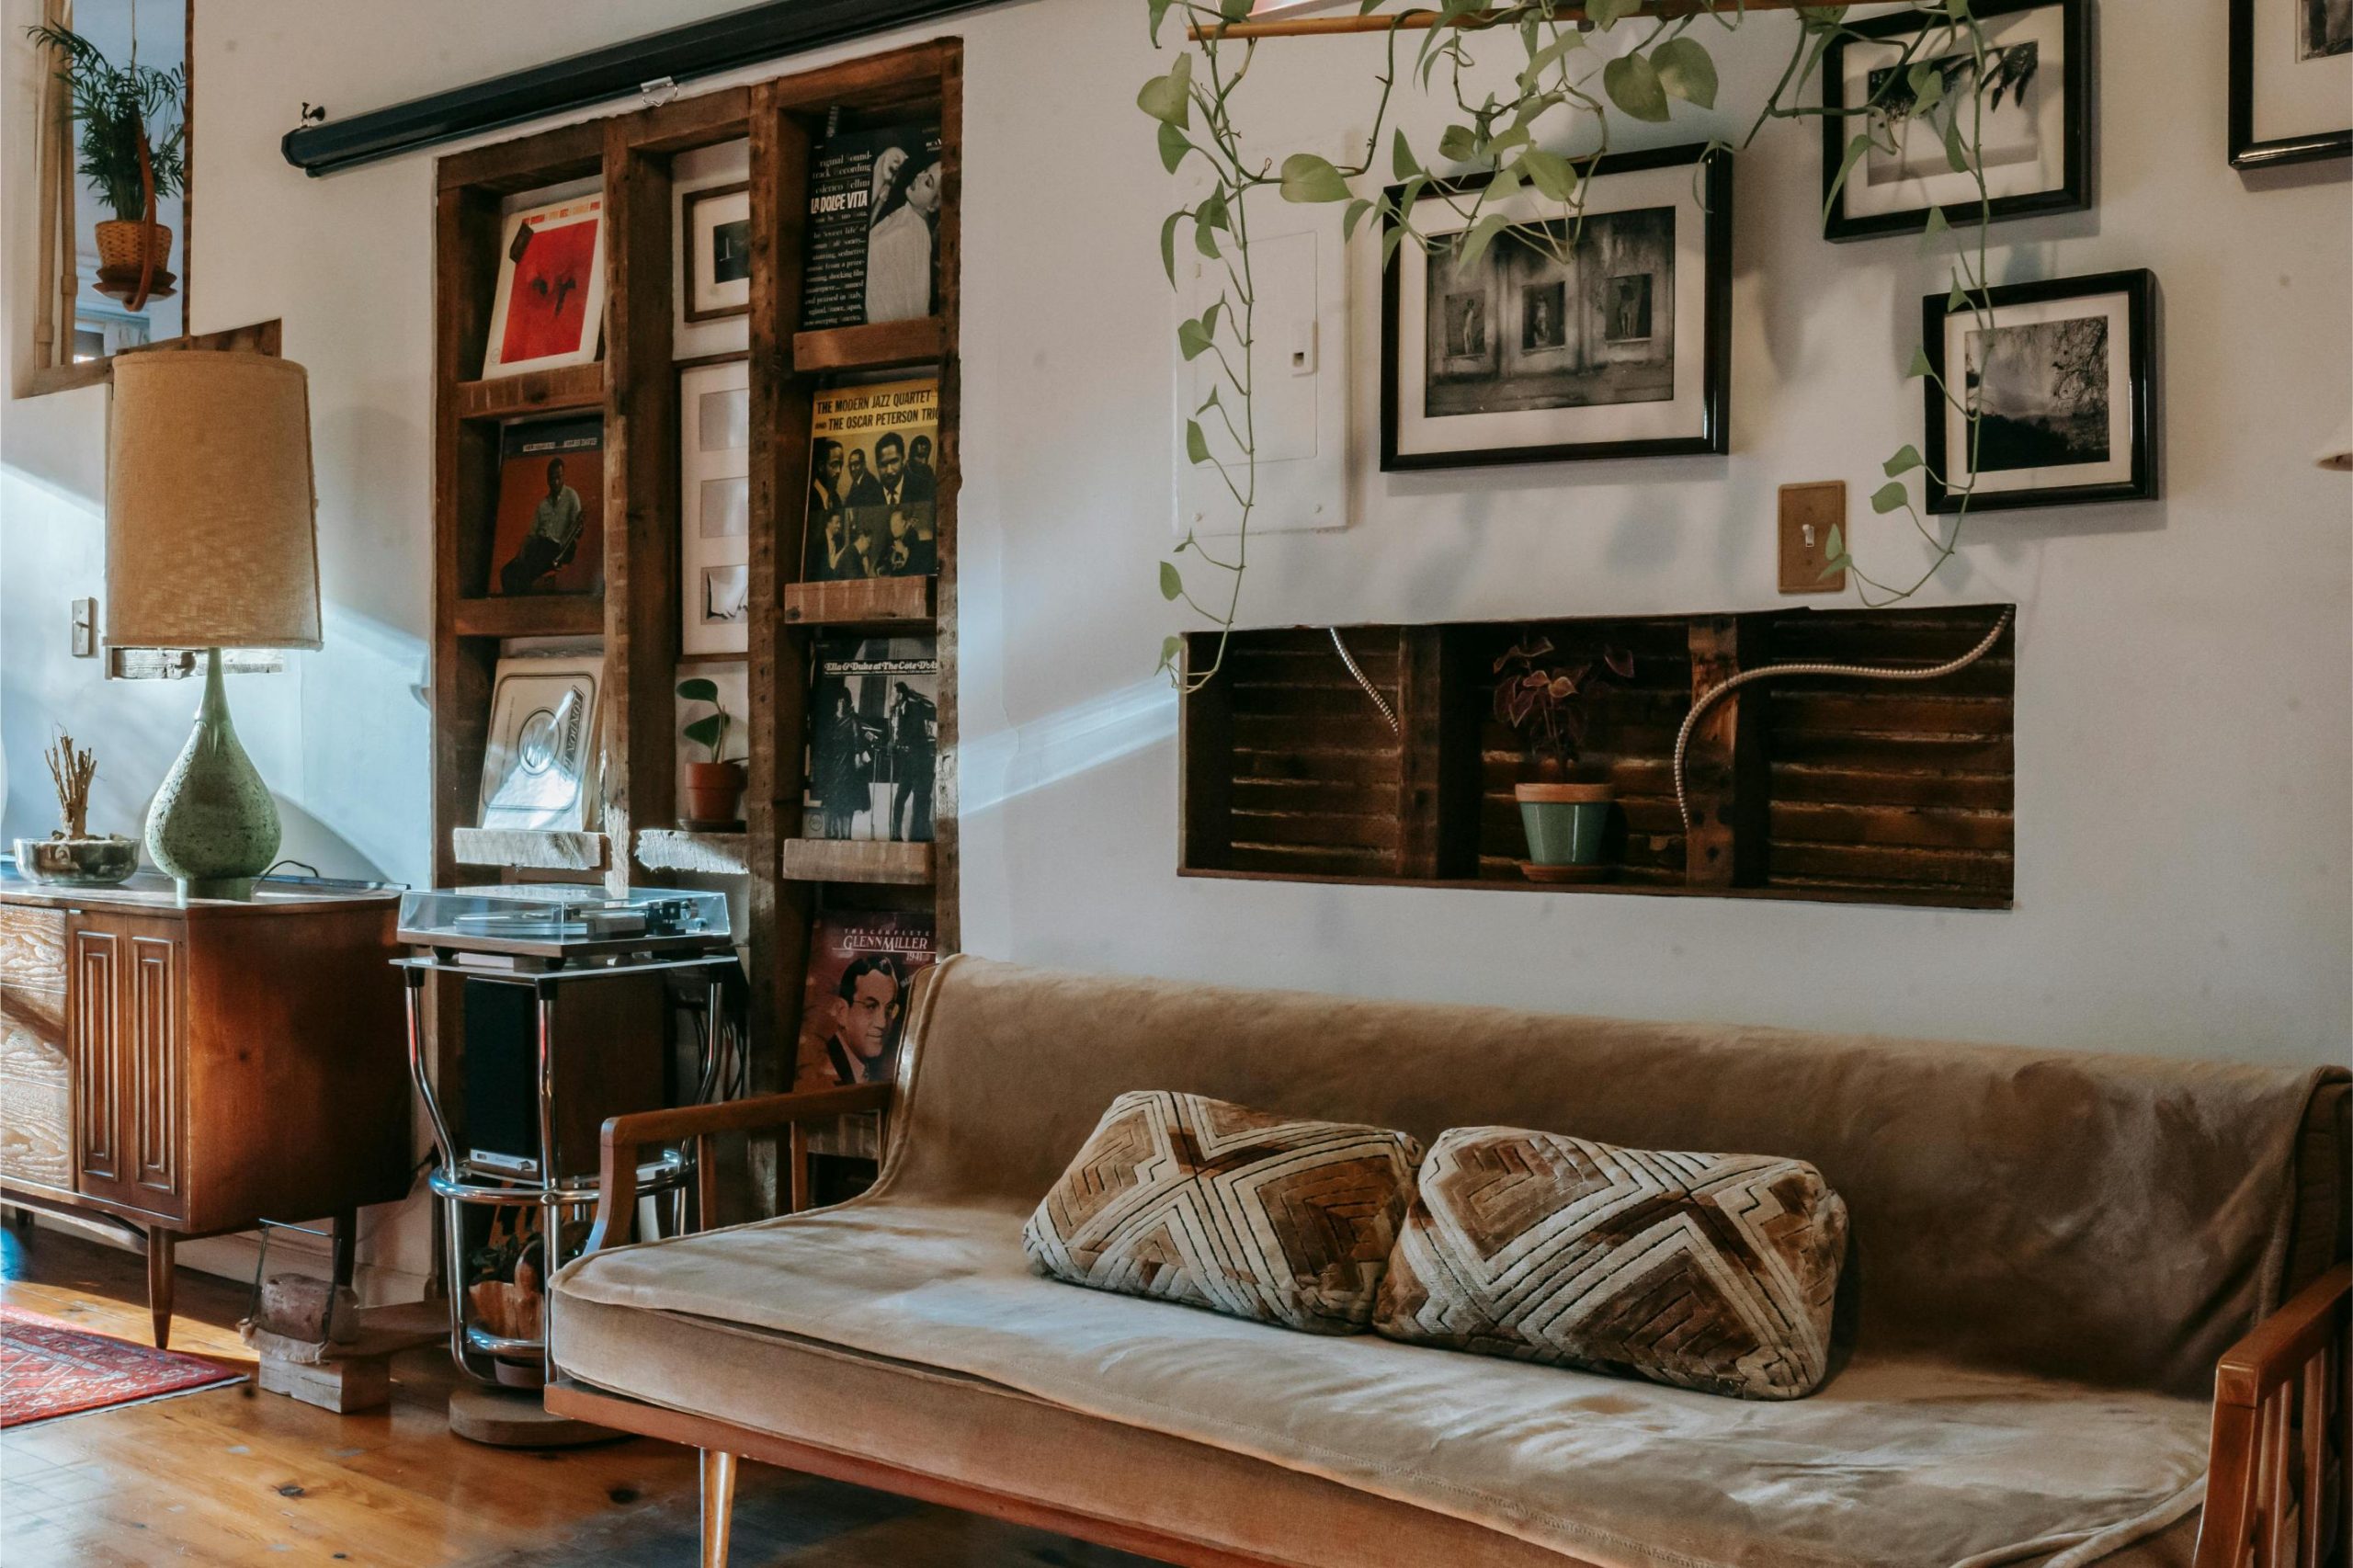
10. Incorporate Shelves and Ledges
Adding shelves or picture ledges is a versatile approach that can transform your wall arrangement. Unlike traditional fixed frames, ledges offer flexibility and allow you to refresh your décor easily.
- Layering artwork: Place pictures of varying sizes on a ledge and overlap them slightly. This creates depth and visual interest, especially in living rooms or entryways. You can also combine framed art with decorative objects like small sculptures or plants.
- Easily changeable display: Shelves make it simple to rotate art or photos without making new holes in the wall. For example, you can swap out seasonal artwork, switch family photos, or experiment with different arrangements whenever you like.
- Styling tips: Mix vertical and horizontal frames for balance. Position taller pieces at the back and smaller ones in front to create a tiered effect. You can also alternate frame colors or textures for added visual appeal.
- Practical advantages: Shelves are ideal for renters or anyone who likes to frequently update their home décor. They reduce the commitment of permanent placement and prevent wall damage while allowing for a professional, gallery-style display.
Incorporating ledges provides flexibility, depth, and creativity, making it easier to adapt your wall décor over time while maintaining a stylish, cohesive look.
11. Add Decorative Accents
Frames aren’t the only way to make a wall visually interesting:
- Mix in mirrors to reflect light and open up small rooms.
- Add sconces or wall lighting to highlight key pieces.
- Small decorative items like clocks or wall-mounted sculptures can complement the art.
Combining artwork with decorative accents creates a more dynamic and personalized wall display.
12. Rotate and Refresh Your Pictures
Keeping your wall display fresh keeps your space lively:
- Change photos seasonally or whenever your style evolves.
- Swap out artwork to reflect trends or your evolving taste.
- Rotating art prevents your display from becoming stale and keeps your home feeling updated.
Regular refreshes keep your décor engaging without requiring a complete redesign.
13. Protect Your Art
Take steps to protect your pictures for longevity:
- Use UV-protective glass to reduce sun damage.
- Keep pictures away from high-humidity areas to prevent warping.
- Regularly dust frames and clean glass to maintain clarity and vibrancy.
Proper care preserves your investment and keeps your display looking professional.
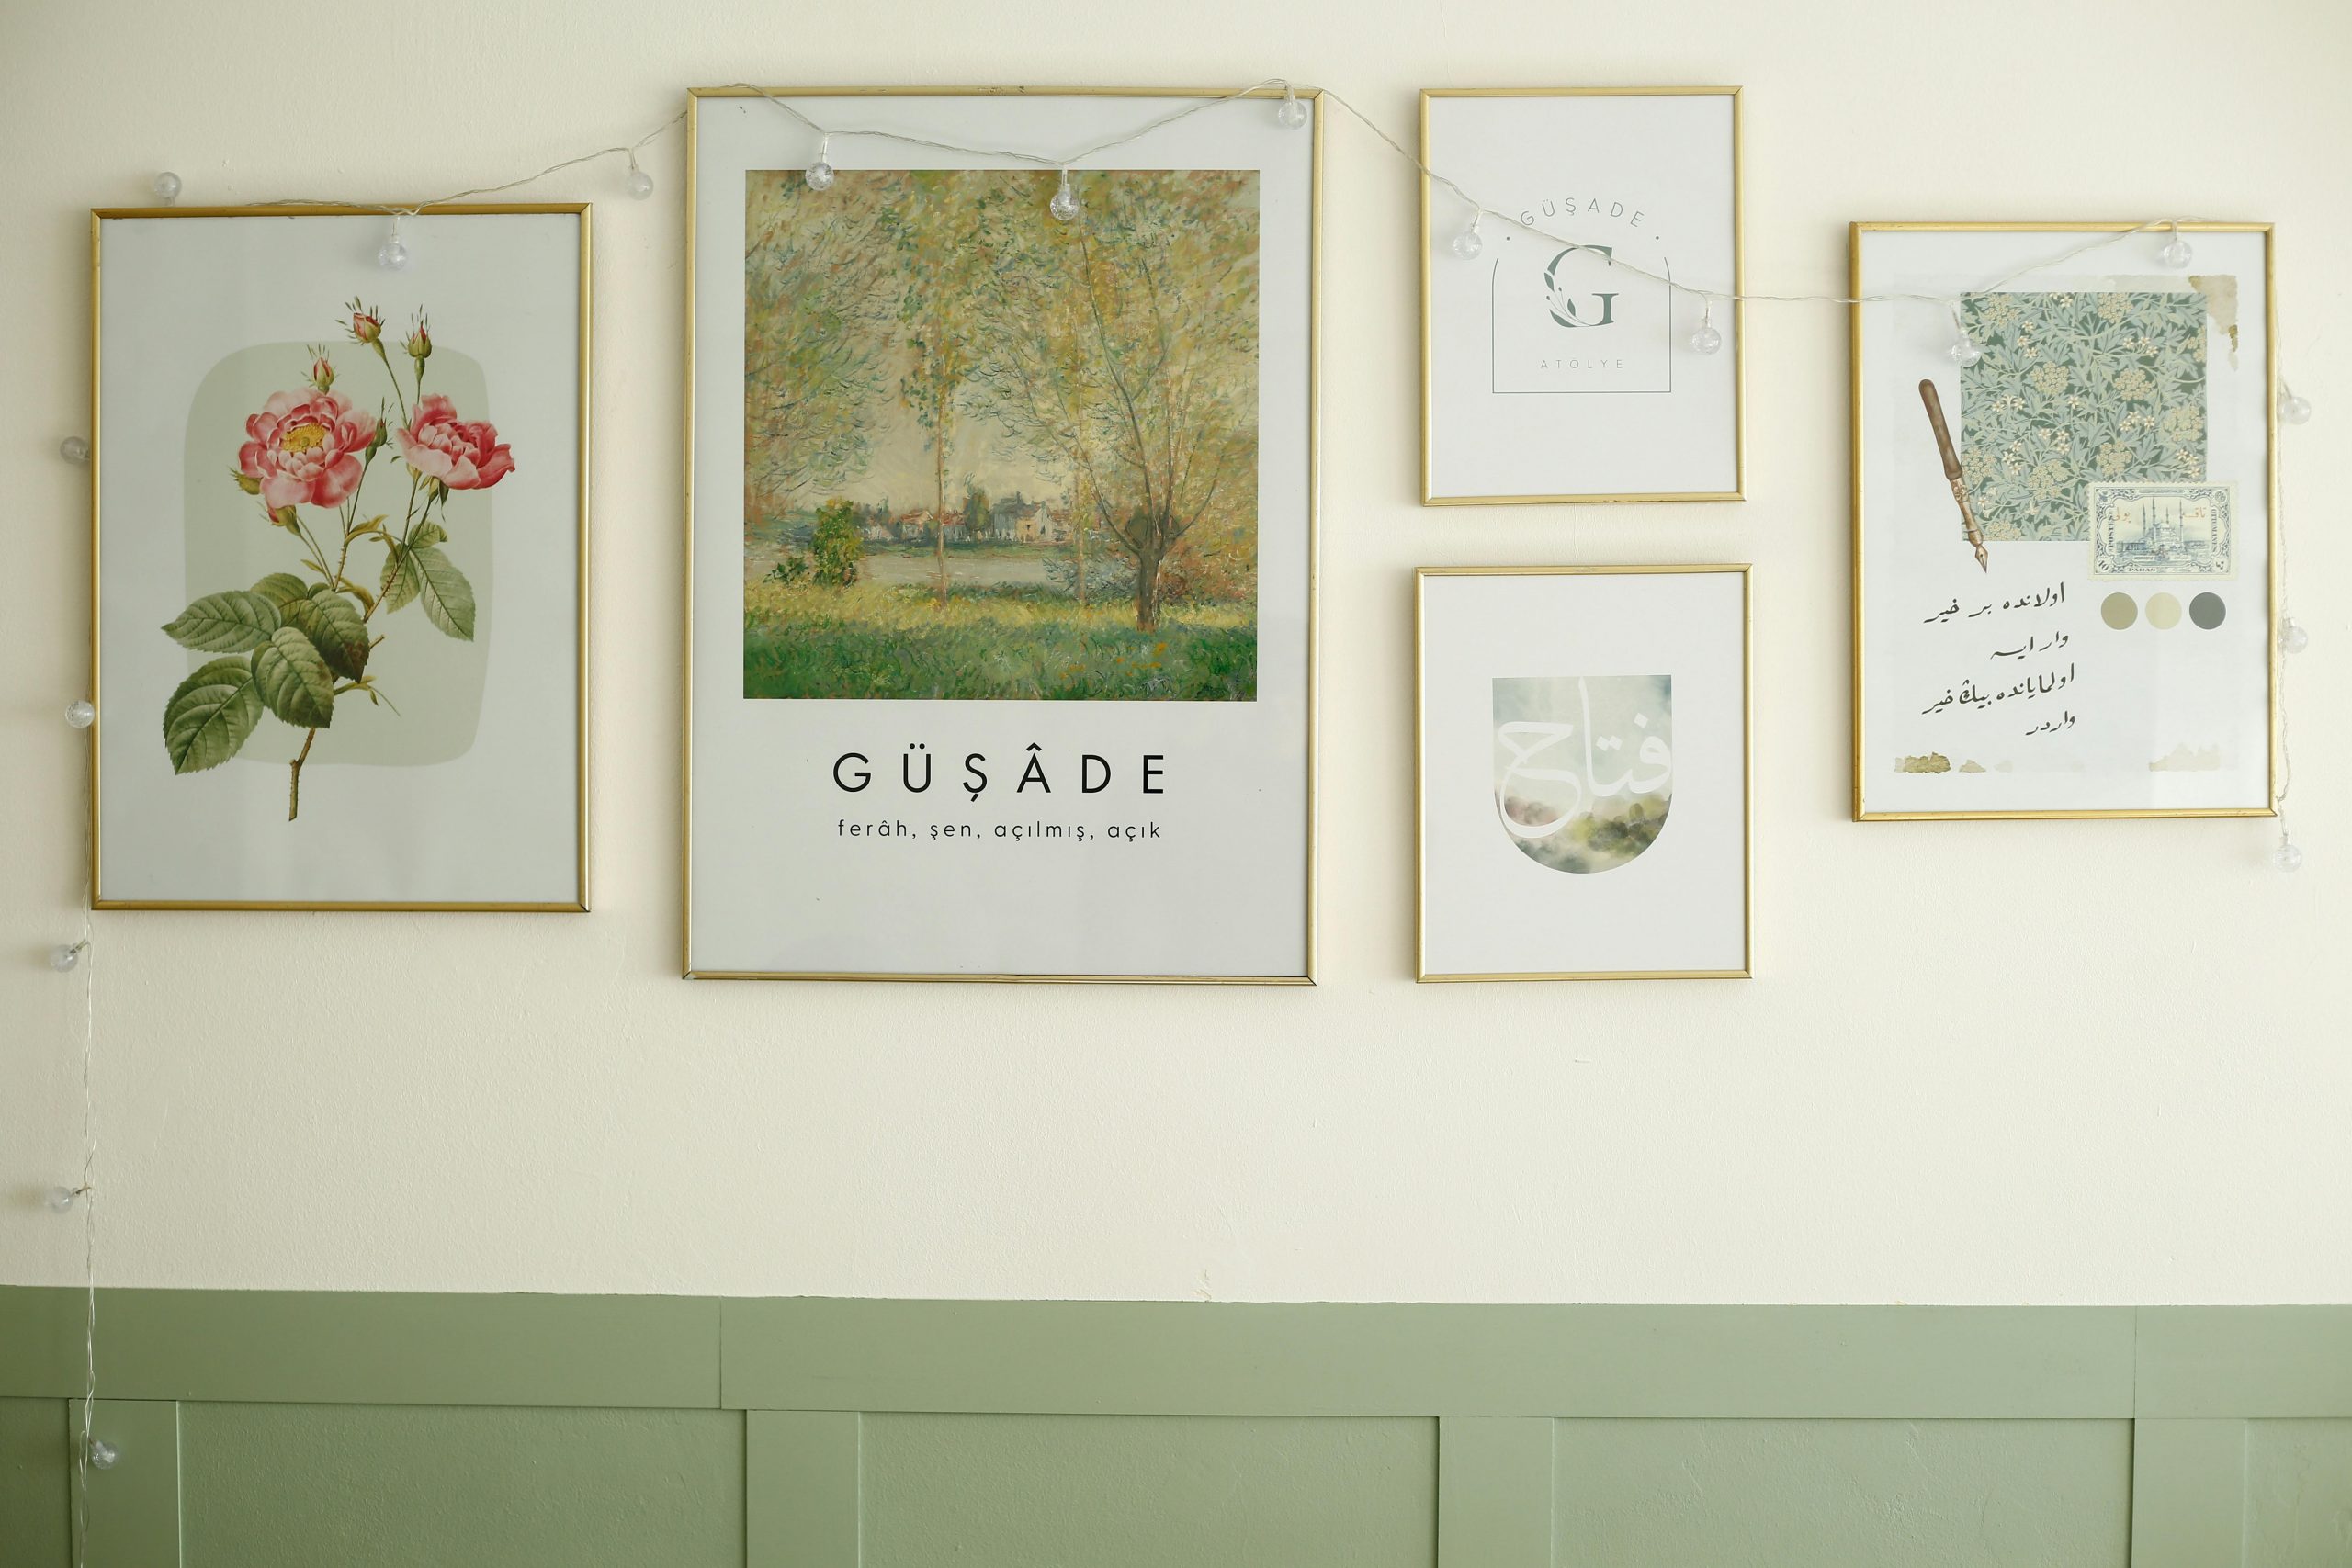
Tips for Gallery Walls
Gallery walls are popular but require planning:
- Start with a central anchor piece and work outward.
- Vary frame sizes but keep consistent spacing of 2–5 inches.
- Consider sketching the layout on paper or using paper cutouts to visualize placement.
Following these tips ensures a cohesive, professional-looking gallery wall.
Final Thoughts
Arranging pictures on a wall combines creativity, planning, and attention to detail. By carefully selecting your art, planning layouts, using appropriate hardware, and maintaining your display, you can create walls that are both visually striking and reflective of your personal style.
From symmetrical galleries to eclectic mixes, the right approach transforms your walls into conversation pieces that enhance your home’s aesthetic. With these strategies, anyone can confidently hang and arrange pictures like a professional interior designer.